How To Create Office 365 SharePoint Alerts With The Client Side Object Model (CSOM)
January 31, 2017
HOW TO: Set the body and headers for the SharePoint Framework (SPFx) httpClient
February 6, 2017
In this post I’m going to show you how to call a Microsoft Flow from a SharePoint Framework (SPFx) web part. In this sample scenario, the Microsoft Flow sends an email. If you want to run this sample code first go to this blog article and follow the instructions to create a Microsoft Flow that sends email.
Note: In the blog article I linked above the email address parameter is spelled emailAdress. I renamed the parameter emailAddress when I created the Flow and the web part in this sample. You will also need to rename the parameter to make it work with my sample web part code.
This web part is super simple! It is created with No javascript web framework option (you can see this below). The goal of this web part is not to show you how to make web parts with React, Angular, Knockout, or JQuery. The goal is to show you the bare bones implementation you can use to invoke a Microsoft Flow from an SPFx web part.

You can find the web part code in this GitHub repository: https://github.com/TBag/SPFxFlowEmailWebPart If you want to adapt this to use one of the frameworks mentioned above please feel free to do so and issue a Pull Request to the sample code GitHub repository. I’m happy to add it to the repository to share with others.
Note: This web part was built on SPFx RC0.
Here’s how to run it:
Clone the code from the Git Hub repository:
git clone https://github.com/TBag/SPFxFlowEmailWebPart.git
Install packages from npm:
npm install
Compile the web part and load the SharePoint workbench:
gulp serve
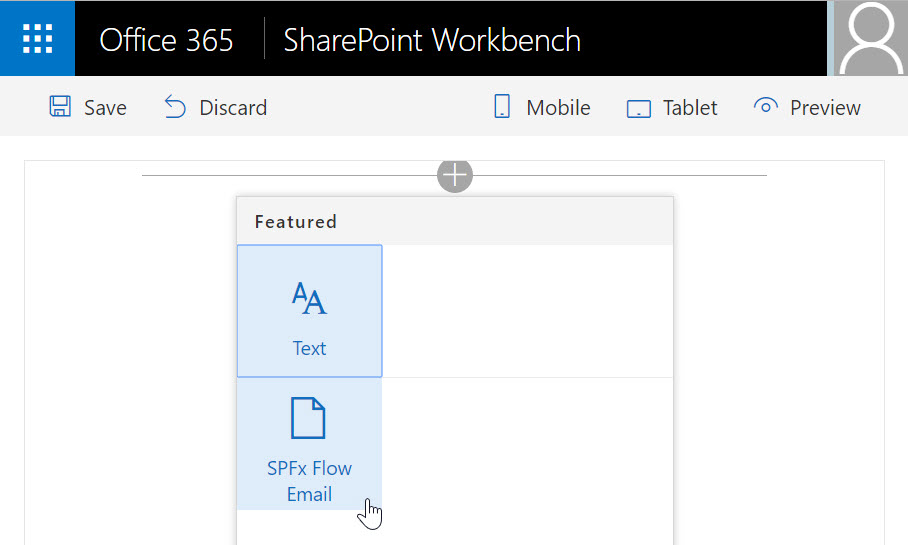
Add the web part to the SharePoint workbench:
Open the property pane to configure the web part.
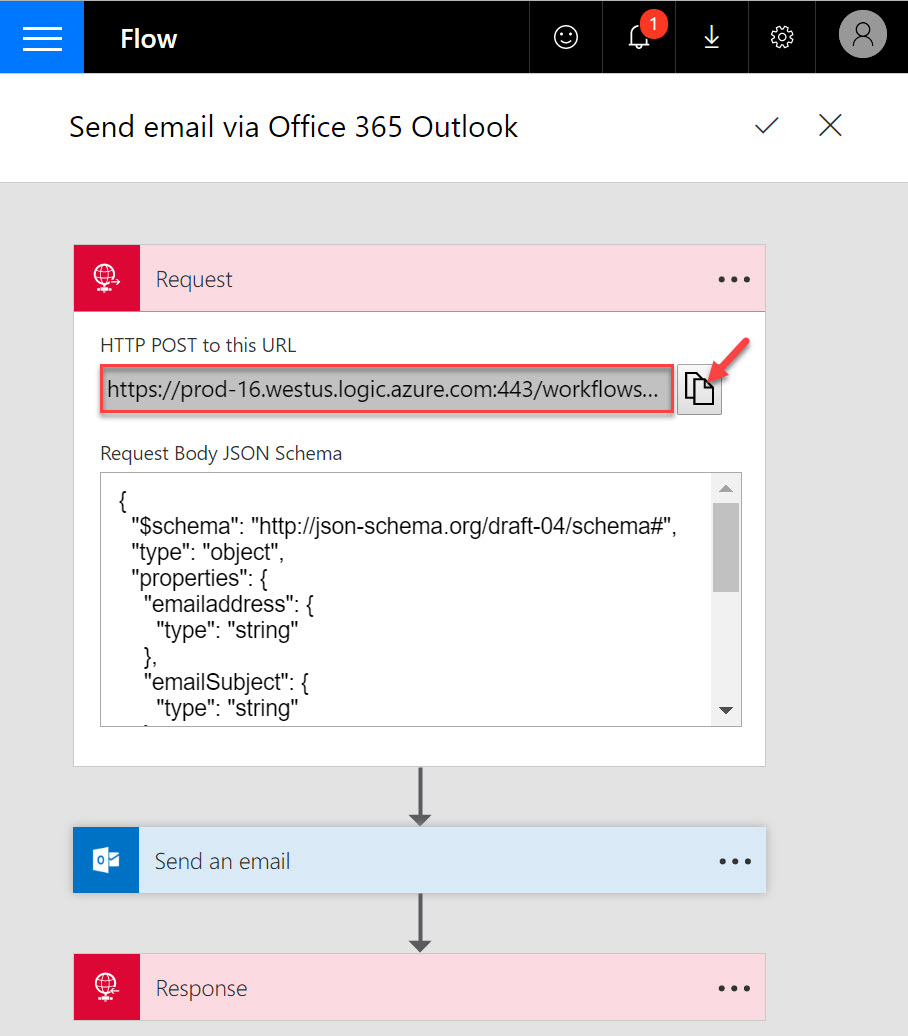
Enter the URL to the Flow you created. To obtain the URL to invoke the Flow you made, open the Request in the Flow and click the copy button next to the HTTP POST to this URL textbox (shown below).
Enter an email address to send the email to.
Click Apply.
Close the property pane.
In the web part, click Send Email.
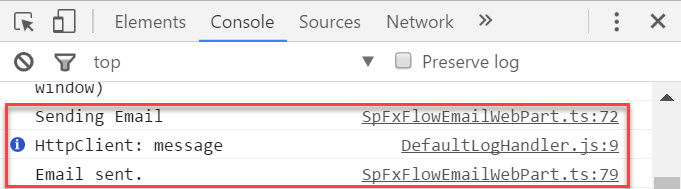
If you open the Developer Tools (F12) you can view the status of the email in the console (shown below).
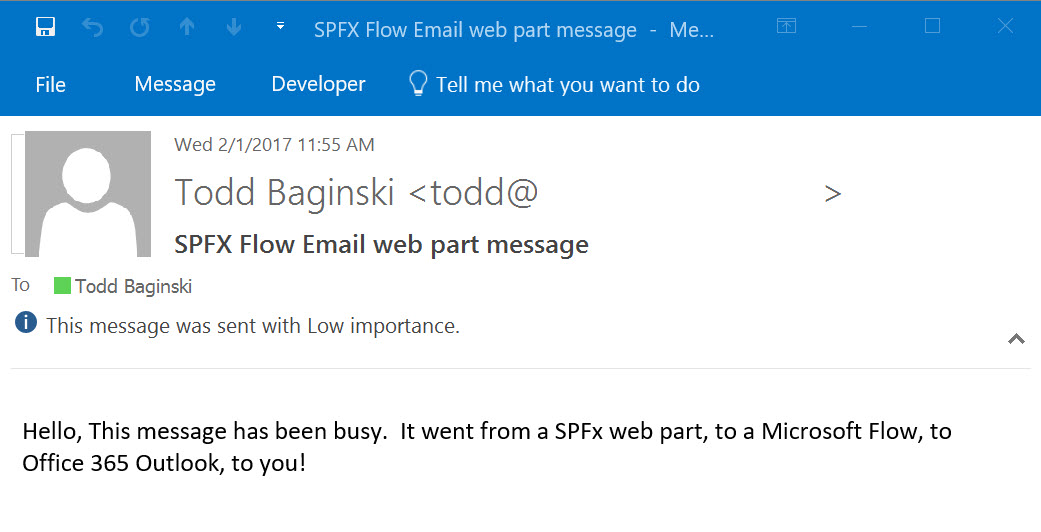
Here’s what the email looks like. Notice the Subject and Body match the values in the web part properties.
OK, so how does it work? Let’s take a look at the code real quick. As I mentioned above, this is not some fancy web part built on any framework.
Furthermore, this web part isn’t factored to the Nth degree to use different script files and modules. If you want to see some awesome articles on how to factor your SPFx web parts to the Nth degree and use all sorts of frameworks I suggest you check out Waldek Mastykarz’s, Chris O’Brien’s, Wictor Wilén’s, and Andrew Connell’s blogs. They all have a lot of great content about those topics. You can also find good information on http://dev.office.com.
I only modified 5 files to make this web part (shown below).
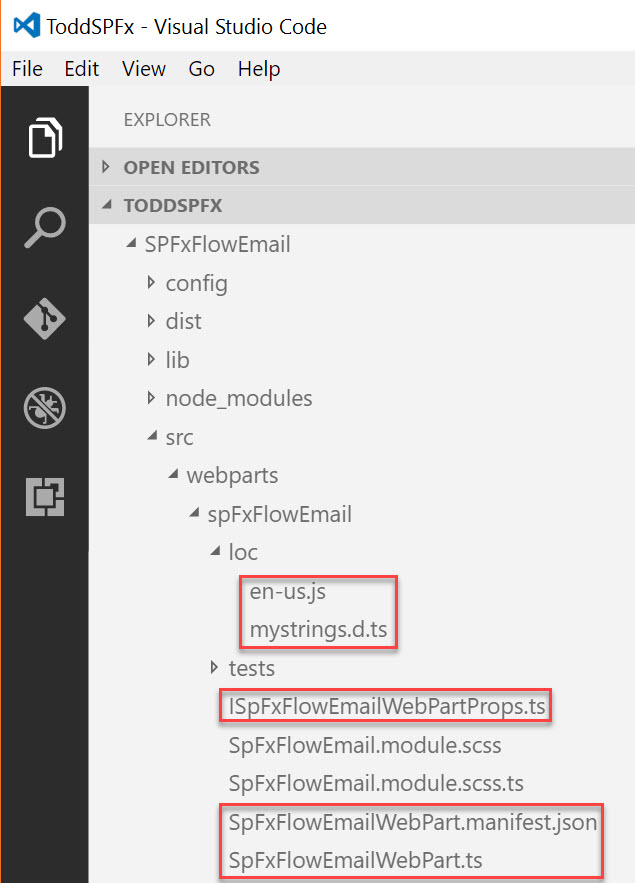
Here’s what I added to each:
- en-us.js – modified strings and added additional strings that control the text in the web part property pane.
- mystrings.d.ts – added additional strings that control the text in the web part property pane.
- SpFxFlowEmailWebPart.manifest.json – added default values for some of the web part properties.
- ISpFxFlowEmailWebPartProps.ts – added the web part properties to the interface.
- SpFxFlowEmailWebPart.ts – added the controls for the web part properties to the property pane user interface.
None of these changes are a big deal, so I’m not going to bother putting code snippets that show them in this blog post. You can see the changes for yourself in the sample code.
OK, now for the fun part; calling the Flow from the SPFx web part!
All of this code is in the SpFxFlowEmailWebPart.ts file.
Here’s the code that executes when the Send Email button is clicked in the web part. First, the code validates the FlowURL is present. If it is not, the out of the box context.statusRenderer.renderError SPFx method is used to display the error message.
Then, the code validates the email address is valid by calling a simple helper function named validateEmail you will see in the web part code. This function uses a regular expression to validate the email. The out of the box context.statusRenderer.renderError SPFx method is again used to display the error message.
Finally, the code invokes the sendEmailViaOffice365Outlook method and passes in the web part properties to send the email.
The sendEmailViaOffice365Outlook method does a few things to call the Flow. First it sets a constant equal to the flowURL web part property. Then, it assembles the body for the POST request. The body contains the JSON string containing the email address, subject, and body. Next, the request headers are set. In this case, the only request header that you need to pass to the Flow is the Content-type. Next, the IHttpClientOptions are created. This class encapsulates the body and headers so they are sent properly via the SPFx httpClient with the POST request. Finally, the post method is invoked on the SPFx httpClient. This method takes in the Flow URL to POST to, the IHttpClientConfigurations, the IHttpClientOptions and ultimately makes the POST request to the Flow.
Note: I suggest you read this article by Chris O’Brien to learn more about the SPFx httpClient class.
Here’s the web part in action. Click Send Email and the email is sent immediately. Nice performance!